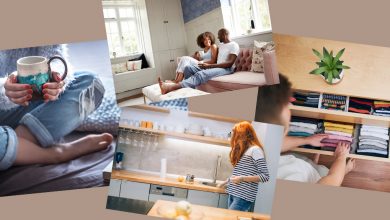
Organize Your Space
Fun & Colourful Finishes for Your Furniture
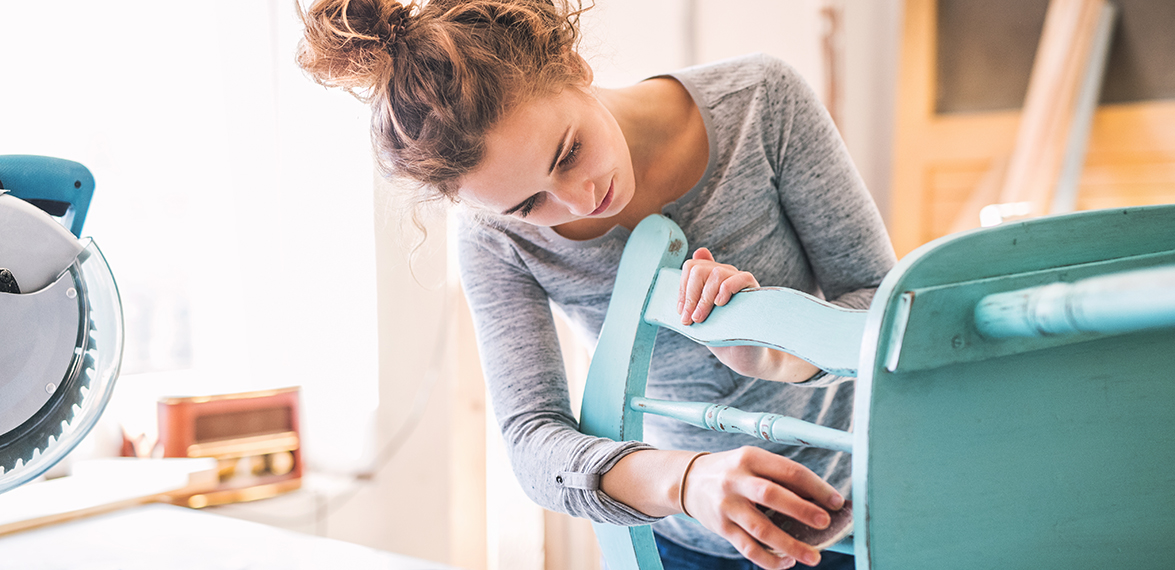
![]() Filling the furniture void in my living room began with an idea I found on Pinterest. With numerous pallets stored on our patio, I thought it would be a great project for my husband and me to build two side tables and a console table. All my research suggested that it would be a simple project, and being married to an engineer, I believed we had this. The planning process began last summer, but by the time we discussed and agreed on it, winter weather had set in. We decided it would be a spring project.
Filling the furniture void in my living room began with an idea I found on Pinterest. With numerous pallets stored on our patio, I thought it would be a great project for my husband and me to build two side tables and a console table. All my research suggested that it would be a simple project, and being married to an engineer, I believed we had this. The planning process began last summer, but by the time we discussed and agreed on it, winter weather had set in. We decided it would be a spring project.
The winter snow melted away, and spring and the slightly warmer weather arrived. However, so did my husband’s deployment message. We now had two options. The first my husband could build them before he left, which really wasn’t realistic due to his job. The second was I would wait another year.
In an instant, the pallet tables were literally off the table, and I visited my trusty home decor website and ordered three solid bamboo tables. Our pallet tables project had now morphed into an assemble-and-stain project.
The one hiccup that we experienced came regarding the finish. Due to the quality of the wood, my husband refused to paint the tables or let me paint them. After a visit to the hardware store, where we found few to none white stain options, we had a heated conversation ending with me telling him to find a solution, which he did. We ended up using the whitewash pickling stain finish, which had amazing results.
Pickling is a great option if you are looking for a white finish that highlights the wood grain. Other finishes that add colour to your furniture include whitewashing, milk stain, and gel stain. If you are looking to keep the integrity of the wood, staining, varnishes, lacquers, and shellacs are the way to go.
Finishing Techniques
Pickling/Whitewashing:
To finish our furniture we used Minwax White Wash Pickling. Apparently, you can make your own finish using paint and water, but we opted to purchase the product to ensure the finish was what we had envisioned. (Remember the heated conversation!) This technique allows you to brighten your wood without hiding the wood grain. Whitewashing is best suited for pine. Pickling is a technique best used for oak. Our tables are bamboo and pickling worked well.
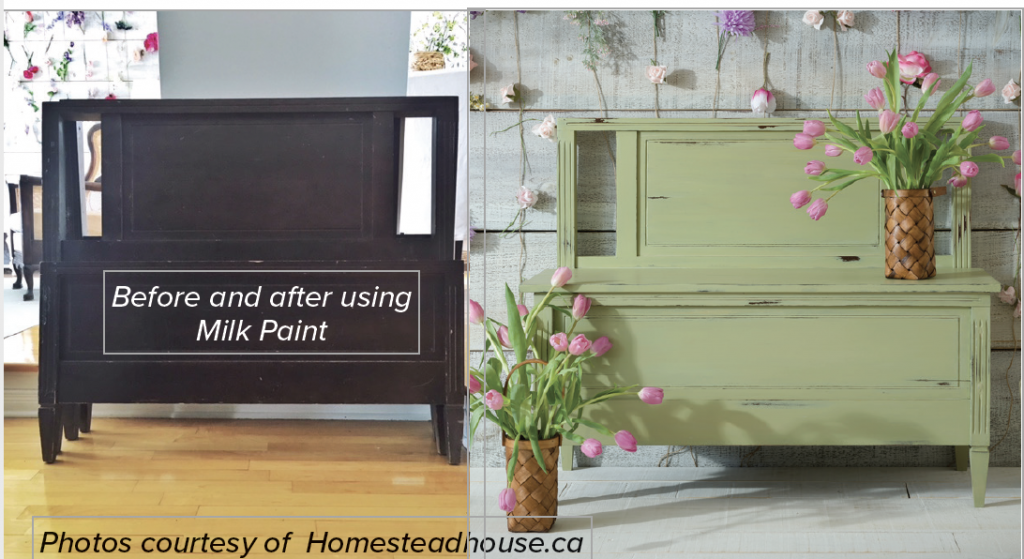
Milk paint:
This finish is a versatile painting option whether you are looking for a wash or full-coverage finish. It is eco-friendly, VOC free and safe to use around children and pets. Milk paint is the oldest paint known to man. It consists of natural products like clay, limestone, casein, chalk and natural pigments. Milk paint is a very durable paint popularly used by modern designers, green consumers and homeowners seeking to capture a variety of modern, trendy, antique and textured looks.
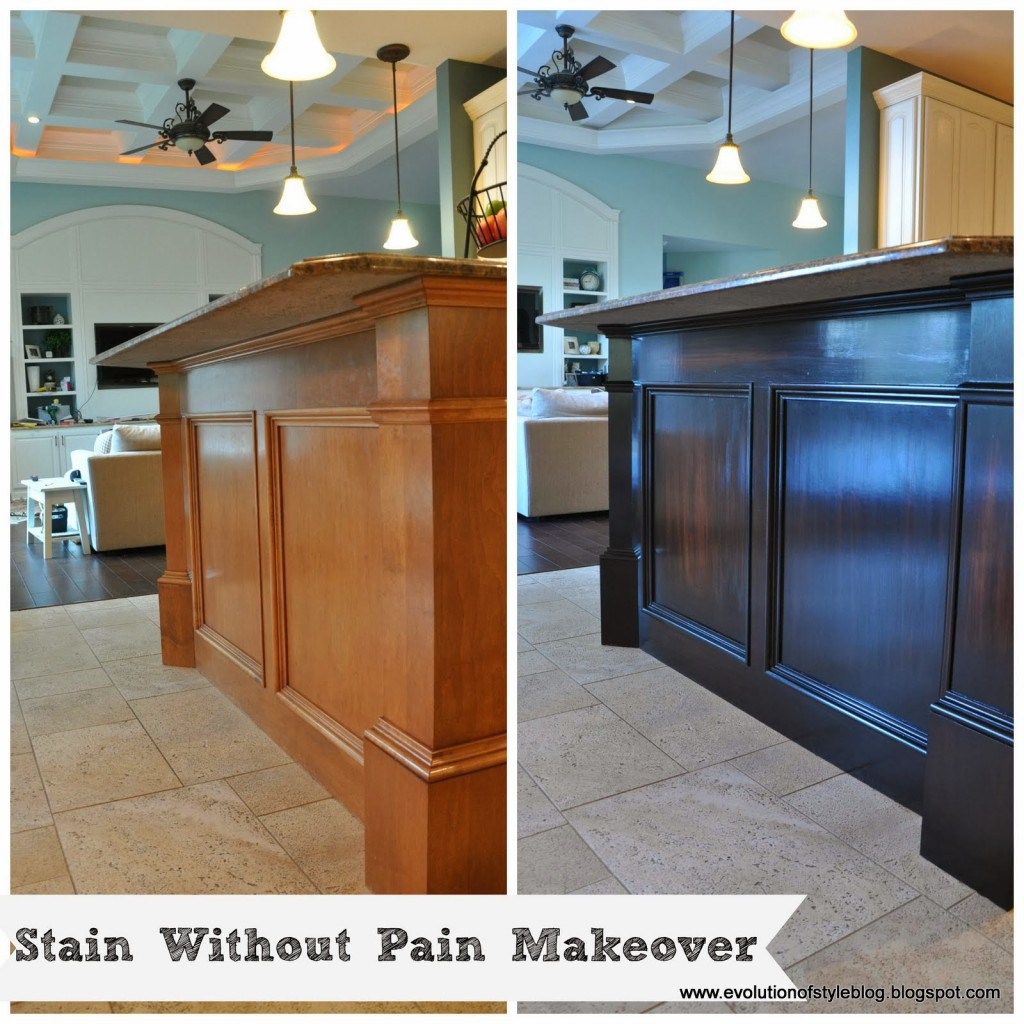
Gel Stain:
There were mixed results with gel stain. Gel stains are perfect for non-porous woods like pine, maple, cherry, and birch. One concern users mentioned was the amount of time it took to achieve the result they had in mind. WoodMagazine.com compared gel stain to peanut butter. You can spread it perfectly on a piece of bread, but it will not absorb into the bread. A thin wood stain is like melted butter that would soak into a piece of bread. With gel stain, a little goes a long way. It is recommended to use disposable sponge brushes.

Polyurethane:
A clear hard finish that dries fast to protect your furniture. It is essentially a plastic in the form of liquid until it dries. It is available in both water- and oil-based options and comes in a variety of finishes. Important: Avoid using oil-based protective finishes over whitewashing or pickling as they have a yellowish look that will detract from the white finish you have achieved. Use the water-based finish instead.
How to Finish
Materials and Tools
polyurethane (you can omit if you are painting)
100-, 50-, and 220- grit sandpaper
stain brushes
rags
tack cloth
orbital or belt sander (optional)
router (optional)
Directions
- Sand your piece of furniture, lightly so if you are staining unfinished wood that has never been painted or stained. If your item has been stained or painted make sure you sand off all the paint or stain on the item.
- Remove all sanding dust off the item with a tack cloth or damp cloth.
- Apply your stain with a brush, following the wood’s natural grain. Apply the stain, allowing it to soak into the wood if it is a porous wood. See Gel Stain.
- Apply at least two coats of stain. The number of times will depend on how dark you would like the colour to be. Lightly sand with 220- grit between coats, when the stain is dry. When you stain wood, it causes the fibres to swell as they soak up the stain. The reason you are sanding it to create a smooth surface, by sanding off the swollen fibres.
- When the final coat of stain has thoroughly dried, apply polyurethane, following the manufacturer’s directions. (Note: if you are painting you may not need to do this step). The number of coats will depend on the item. For a dining room table, you would apply no less than four coats. Allow the final polyurethane coat to dry for at least 24 hours before using.